How to Install PrestaShop (New Step-by-Step)
Every day more and more people prefer shopping online. Thousands of stores offer affordable prices and constant availability of the right product. In addition, you do not need to look for the thing you need in physical stores.
If you are a business owner and you need an online store, there are many important reasons why you should choose a PrestaShop. So in this article, we’ll look at how to complete a PrestaShop installation from scratch on your hosting provider or local server.
PrestaShop installation methods:
- automatic (using the hosting control panel);
- manual installation (requires minimal knowledge of MySQL and FTP).
Automatic installation (also called «One Click Installation»).
Most hosting providers have the option of quick installation through the admin panel (Cpanel, ISPmanager, VistaPanel). There are also some popular services that allow you to automatically install scripts:
- Softaculous;
- SimpleScripts;
Installatron .
Let's try installing PrestaShop using this method!
1 Step. LogIn to hosting provider Control Panel & click on the «Softaculous Apps Installer» button:

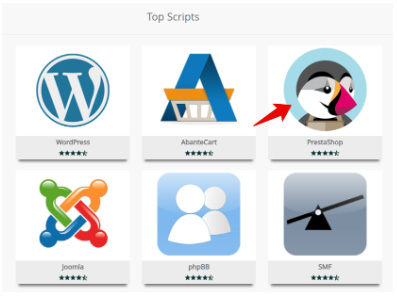
2 Step. Find «PrestaShop» in the list and click on it:
3 Step. Read the description of each item, fill it out and click the «Install» button:

4 Step. Wait 3-4 minutes. After installation, you will be redirected:

5 Step. This is it! Once installed, you will see a success message & you can go to the admin panel of your store:

Watch this:
Manual installation (also called «One-Click Installation»).
Suitable if your hosting provider does not allow the automatic scripts installation. Also, if you need to install a store on a local server (WAMP, XAMPP, MAMP). To install, you need:
- FTP client (not required if installed on a local server);
- create MySQL database;
- Latest PrestaShop version.
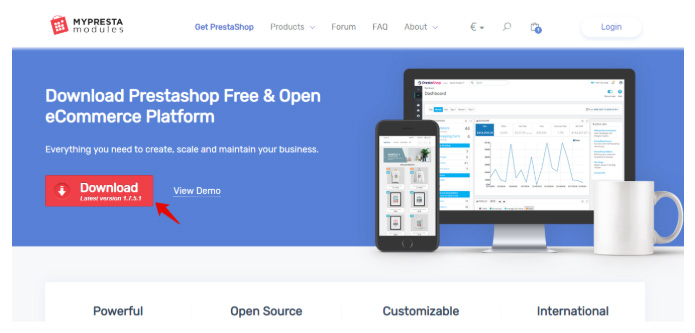
1 Step. Get the latest PrestaShop version. Save it to your computer:
2 Step. You will receive a file with the name «prestashop_x.x.x.x.zip» (or whatever, it all depends on the version of the product):

3 Step. Unzip package. You can use the 7zip, WinRar or similar apps. Do not upload the Zip file directly to your web server!

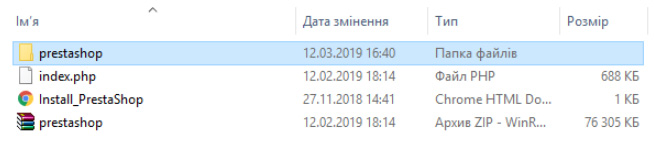
4 Step. We see three files. The prestashop.zip package contains the files we need. Unpack it in the same way as in the previous paragraph:
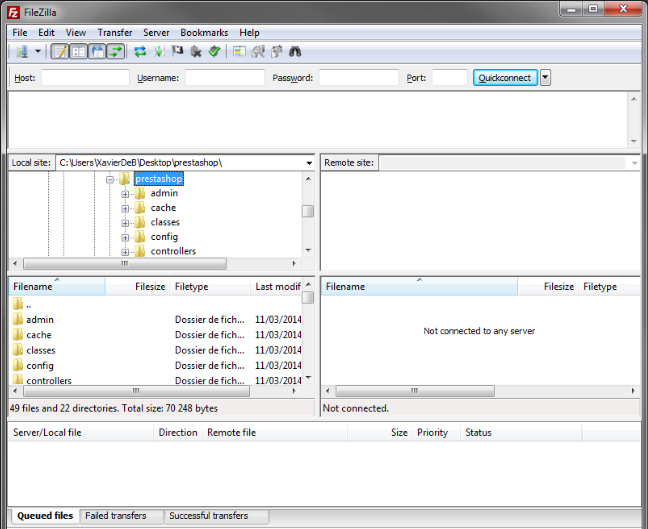
5 Step. Load your FTP-client. Move the contents of the PrestaShop folder to your server in the root folder (or in the folder where you want to install the store):
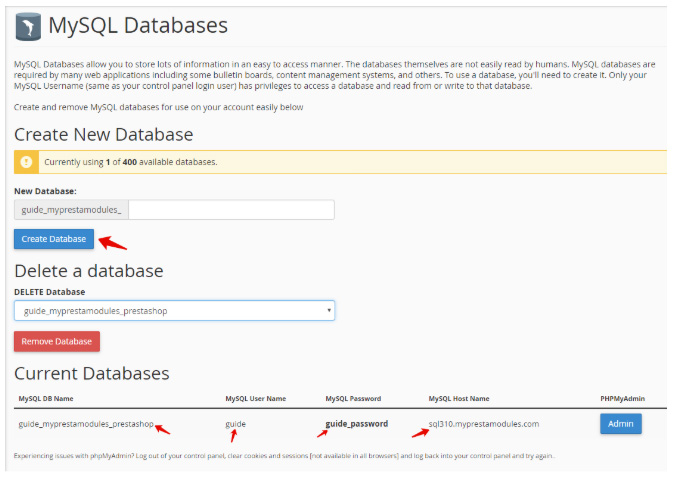
6 Step. Create a new MySQL database by logging in to your admin panel. You will see the password for the database, the host and the name:
7 Step. Run the PrestaShop platform installer. To run it, just open the location of the copied files. The script automatically determines that PrestaShop needs to be installed and redirect you for further instructions. Also, you can safely start the manual installation using the address of the install folder www.your-store.company/install:

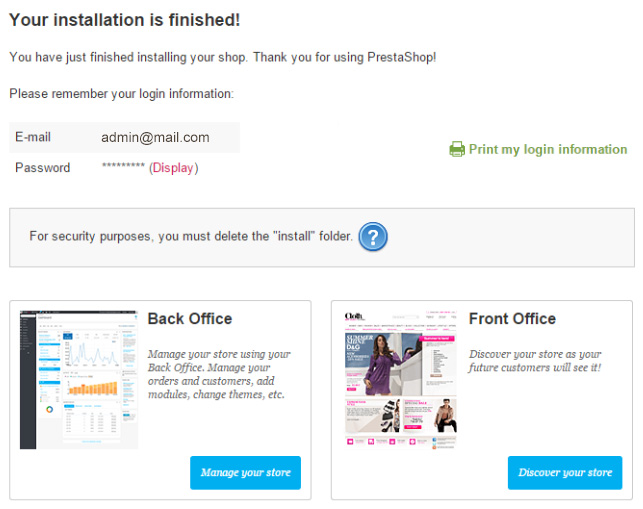
Final step. Congratulations! After successful execution, the script will notify about the end of the work and you can go to the settings of your store!
Category
- Prestashop 1.6 [7]
- Tutorials & Tips [24]
- PrestaShop 1.7 [5]
- Ecommerce News [7]
- Free Modules & giveaway [1]
- Sales & Discounts [10]